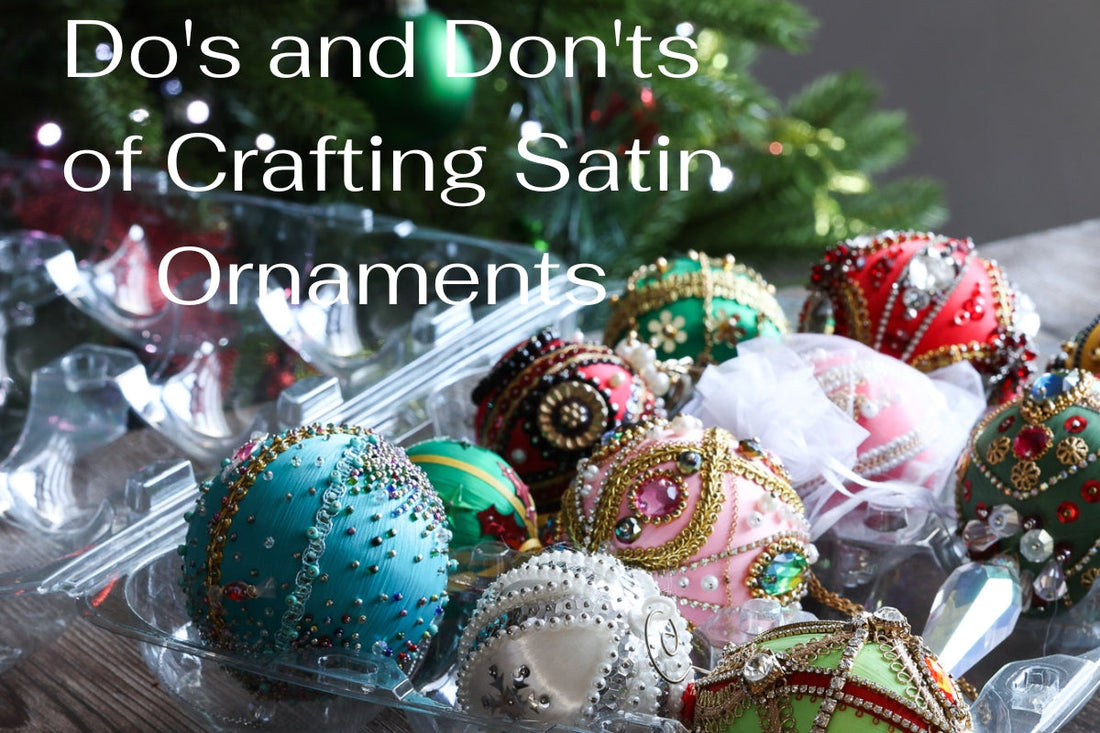
Do's and Don'ts of Crafting Satin Ornaments

About Me
Hi! I’m Natalya, and welcome to my corner of the internet! If you’re obsessed with satin push pin ornaments, you’ve found your people. Drop a comment or connect with me to swap tips, tricks, and ornament inspo.
Don'ts:
- Number one: Don't use hairspray.
I'm not sure how this came into practice—I suspect some vintage kits recommended that trick in the past. I strongly disagree based on my experience: hairspray dulls the shine on satin ornaments and attracts dirt (not to mention that hairspray turns white ornaments yellow). Just take a look at the picture below. If your satin threads are fuzzy and need tidying up, I recommend adding embellishments or beads to cover the imperfections instead. A satin ball with stains and dulled shine, showing damage from hairspray use.
- Number two: Don’t push pins into the ornament.
While working on your satin ornament, wiggle the pins as you insert them. This technique prevents breaking delicate threads, and you will avoid a "fuzzy" effect. A pin inserted into the ornament, showing the correct technique to avoid breaking the threads.
- Number three: Don’t use glue.
In our kits, we rarely use glue (except in one or two, like Our Easter Egg kit Sonata). For heavily fraying trims or large rhinestones that need extra security, use double-sided tape instead. It’s removable if placed incorrectly and won’t damage the satin threads. I’ve seen too many perfect ornaments ruined by globs of glue.

Glue globs cause damage, stick with double-sided tape.
Do's:
- Number one: Handle your ornament as little as possible.
I like to attach large embellishments first and hold the ornament only by those as I work. The lighter the color, the easier it is to transfer hand oils onto the satin, which can cause staining. Alternatively, I sometimes use an ornament stand or a simple coffee cup to nestle my ornament in while pinning beads and embellishments. Hold your ornament by its large embellishments to avoid staining the satin.
- Number two: Use a paper strip for measurements.
To divide your ball, egg, or other shape into sections, skip the tape measure. Cut a strip of paper to match the ornament’s circumference and fold it into as many sections as needed. It’s simple and effective! Use paper to divide ornament into sections.
- Number three: Use a handy tool for pinning.
In my shop, I use a simple “tool” for pinning, especially for designs with up to a thousand pins (like my Vintage Doily Ornament Kit). Trust me, your fingers will tire quickly without it. I take a bamboo skewer and drill two or three holes the size of dressmaker pin heads—a small trick that works wonders! I include these tools in all my kits (and for those with a thousand of pins I include two).  A bamboo skewer with holes, used for pinning beads onto a satin ornament.
By following these tips, your ornaments will turn out beautifully! Don’t be afraid to experiment, let your creativity flourish, and good luck with your crafts!
And one final tip: I store my precious ornaments in clear fruit containers, like this one I’ve used for over 20 years. It keeps my creations organized and perfectly safe!
My 20-year-old fruit container keeps satin ornaments safe and organized!
Check out this great blog as well from Covering The Bases!